
Every year, we take to the store to buy something special for the holiday season to dress up our homes. This year, with everyone staying safe by avoiding unnecessary trips to the store, the pandemic has put shopping for holiday decorations on the back burner. Therefore, your skill of making a DIY winter wreath using evergreens can now be put to the test. The best part is, almost everything you need can be found in your landscape, and the rest can be shipped to your home. Many of us have evergreen foliage on our property, and it’s these types of specimens that are traditionally used to make winter decor in the first place. Keep reading for a simple winter wreath project.
The Supplies used
- Green Giant Arborvitae (Thuja standishii x plicata ‘Green Giant’) . About ten large cuttings.
2. Winter Gem Boxwood (Buxus microphylla var. japonica ‘Winter Gem’). Ten cuttings of various sizes.

3. Craft Store Supplies – Gold Metal Circular Hoop 12 in., Gold Floral Wire, Artificial Berry Stems, Unfinished Wooden Snowflake Ornament.
4. Pruning Shears – Avoid using dirty pruning shears as this can spread disease amongst your plants.
5. Hot Glue Gun– To ensure the foliage lays the way you want & for the snowflake.
Putting It All together
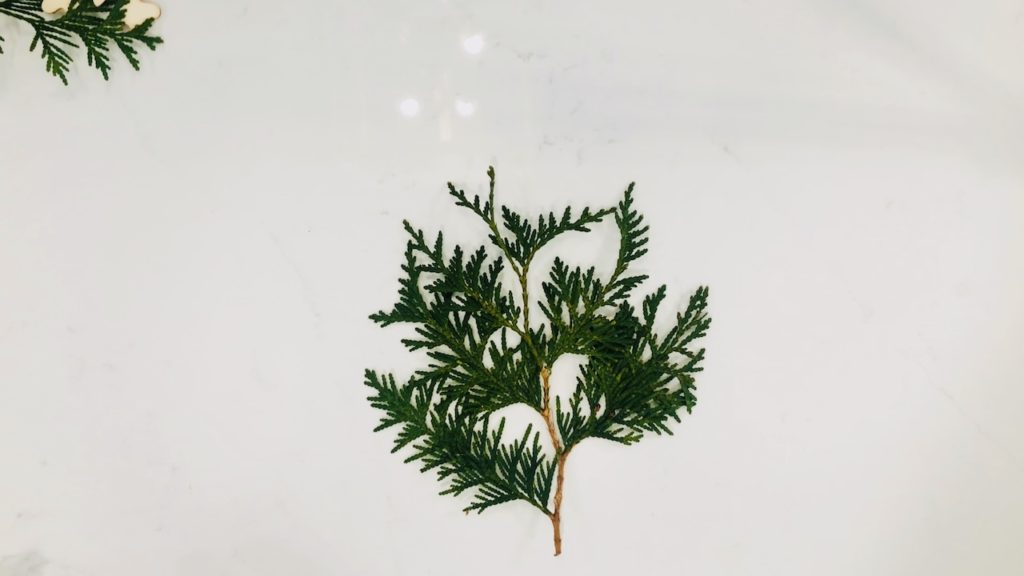
Trim the Green Giant Arborvitae to fit the size of the metal circular hoop you choose. Be careful not to over trim the cuttings. As this will make the wreath look bare. Leaving the cuttings too large will result in the wreath looking bushy and unkept. So trim wisely.


Layer the Green Giant Arborvitae according to the thickness of foliage you prefer. Two are layered in the example shown. Glue them together using the hot glue gun in multiple sections to ensure they stay snug.
Layer a boxwood cutting on top of the glued Green Giant cuttings. Using boxwood cutting with multiple stems will add interest.
Use different sides of the foliage for color variation.
Use a tooth pick or popsicle stick to press boxwood into stems.
Adding foliage to Metal Hoop
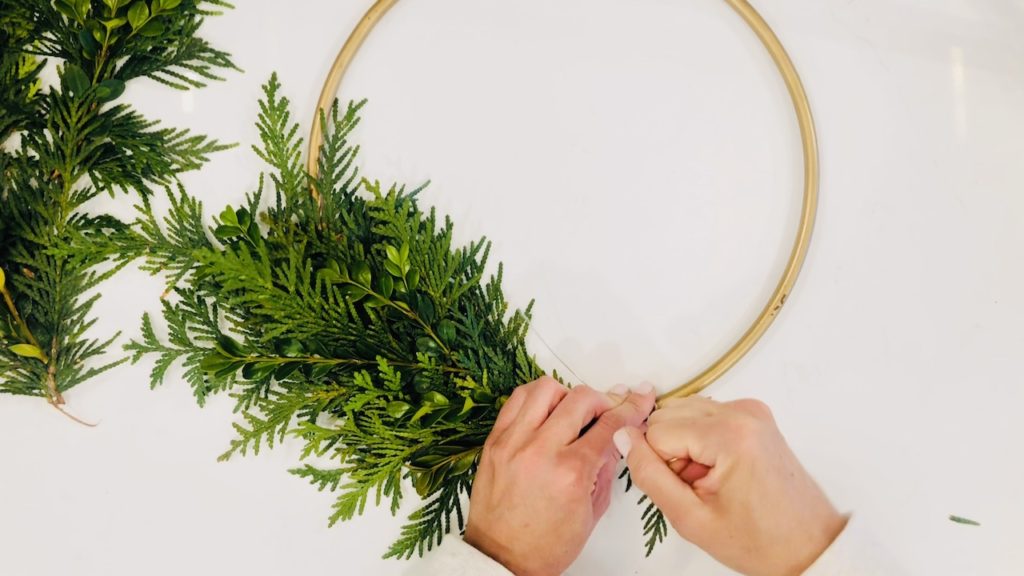
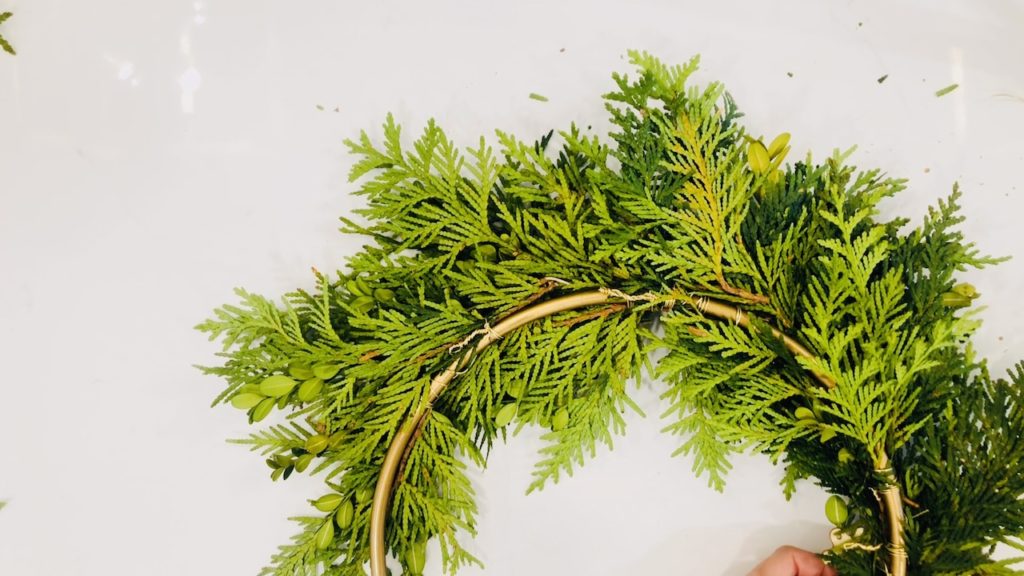
There is no steadfast rule on how to secure the stems onto the hoop other than to pull very taut. As the foliage ages, it will dry and shrink. So pulling very taut will make sure it is still securely held against the hoop when the drying begins. In this example, the wire is cut at each addition of foliage for easier handling. The ends are neatly twisted and tucked into the back of the wreath.
The decorative front pieces with the berries can be assembled at the beginning or at the end of the process. Use the glue to add some finishing touches or mask imperfections at the end. Add a liberal amount of glue to the snowflake and apply pressure to it when attaching to the hoop. Include foliage for the snowflake to attach to as well for extra hold.



The final Look

There you have it. It’s a simple design, almost free except for the craft store items, and totally easy to make. Because the evergreens are real, be sure to spray with some type of waxy coating to preserve the wreath. Bonide Wilt Stop is a great option. Water can also be used by misting it onto the wreath using a spray bottle. Repeat this step every few days to bring moisture back to the evergreens. Hairspray is also a good option. If you decided to spray hairspray or a waxy substance onto the foliage, do it before assembling the wreath, so that the hoop and the ornament are not coated. For a full video tutorial click here: https://lifeongreenacres.com/video-gallery.html
This post is not sponsored
